
How to Repot a Houseplant
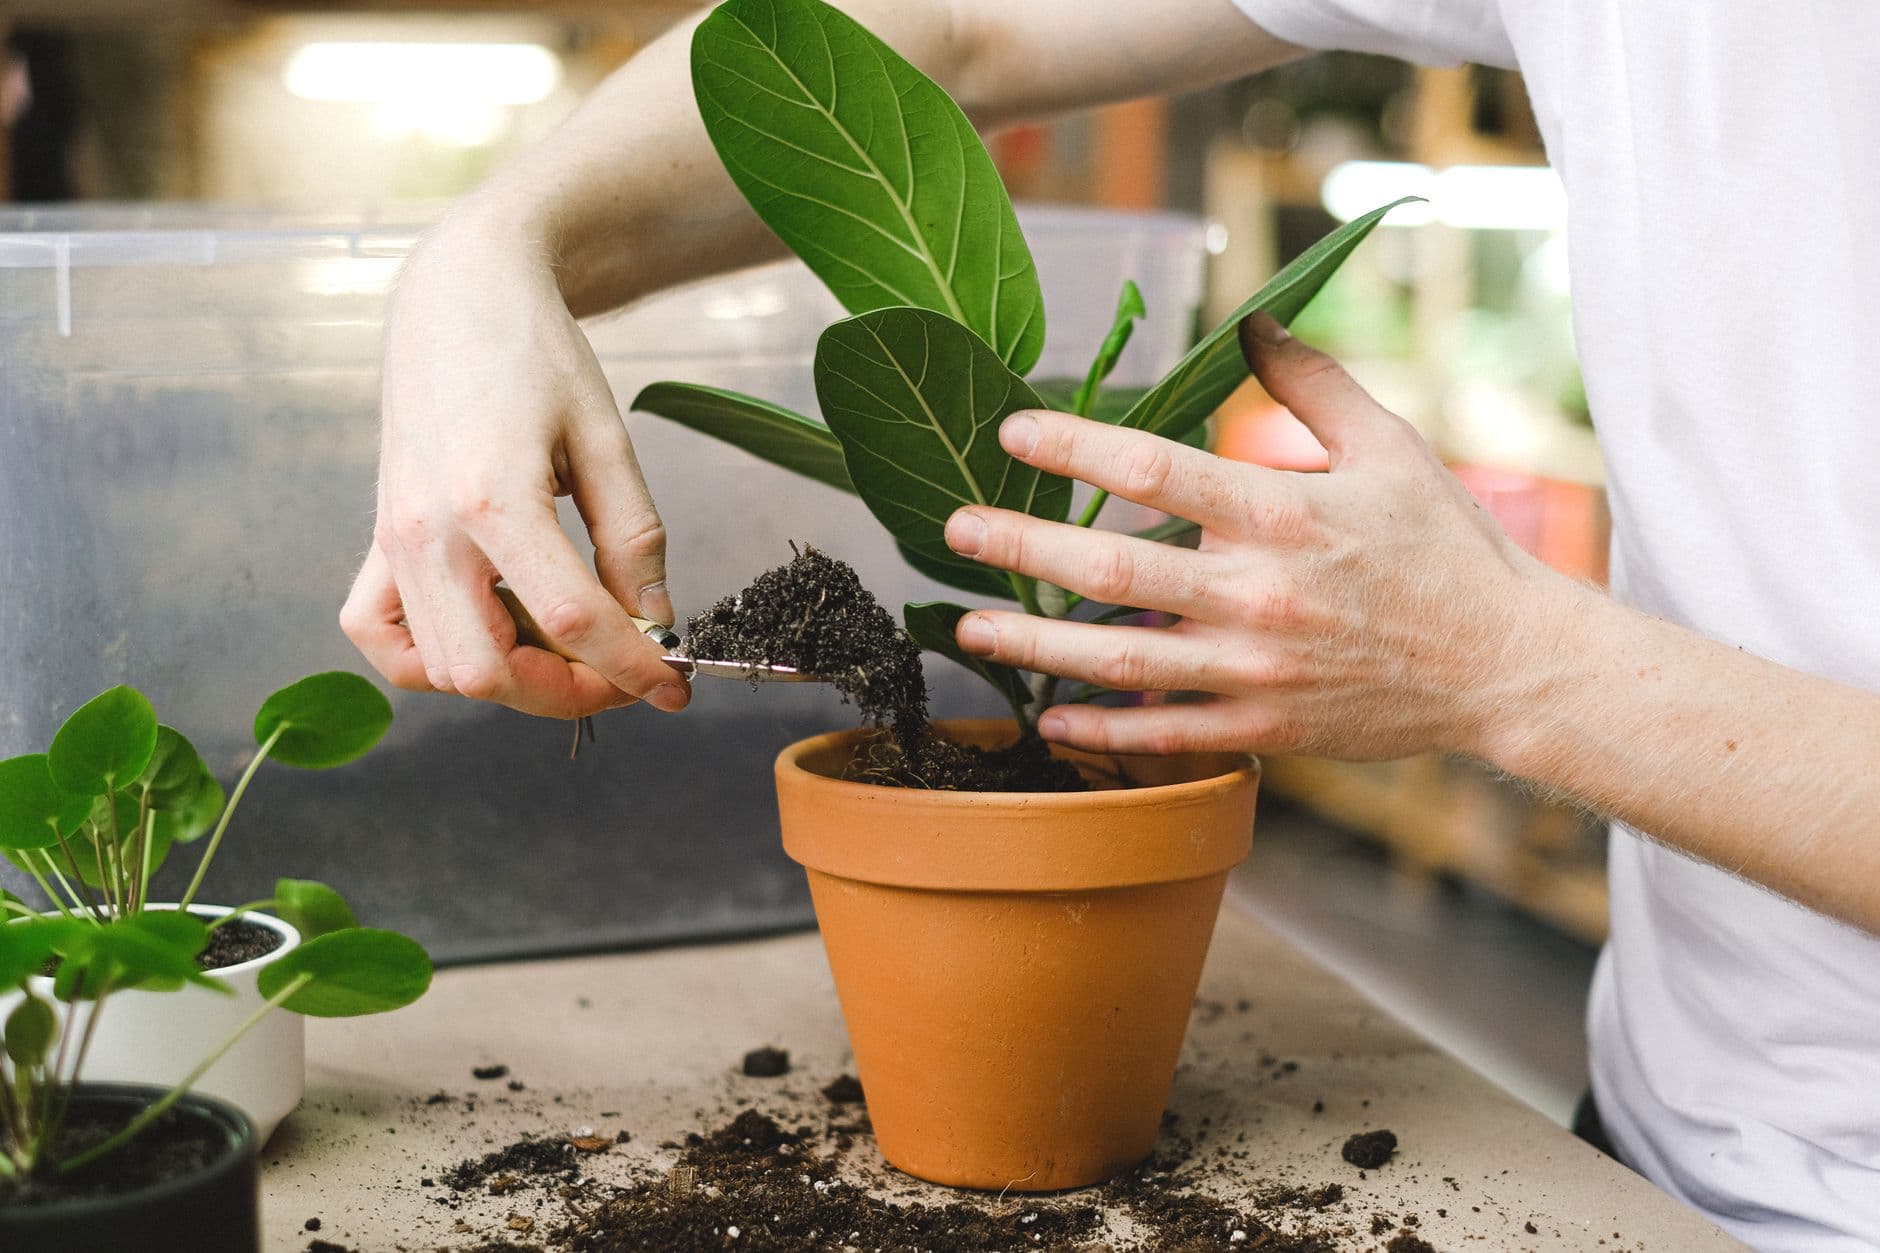
Photo by Anna Shvets
Repotting scares a lot of people, but it's one of the simplest and most useful things you can do to keep your houseplants healthy. Sooner or later, a growing plant needs more room for its roots and fresh potting mix that can hold water and nutrients. The point isn't to repot often, but to do it at the right time and in the right way. In this guide you'll learn how to tell when it's needed, how to choose the pot and the substrate, and how to proceed step by step while keeping stress on the plant to a minimum.
When to Repot: the Signs to Watch For
There's no fixed deadline that applies to every plant. The general rule is to repot when the plant has filled the pot with its roots and no longer has room to grow. On average, many houseplants are repotted every one to two years, but a slow-growing plant can stay in the same pot for much longer.
Here are the most reliable signs:
- Roots poking out of the drainage holes or emerging at the surface of the potting mix. This is the clearest sign that space has run out.
- Water runs straight through after watering without properly moistening the substrate: often the root ball has become a tangle of roots.
- Stalled growth despite adequate light and care, or a plant that looks too big and unstable for its pot.
- Compacted, depleted potting mix that dries out too quickly or pulls away from the sides.
A handy check: gently slide the plant out of its pot and look at the root ball. If you mostly see dense roots coiled in a spiral and little potting mix, it's time to repot. If instead there's still plenty of soil and the roots are well distributed, you can put everything back and wait.
The Best Time: Spring Is Ideal
The ideal time to repot is late winter or early spring, when the plant kicks back into active growth and has the energy to push out new roots and settle into its new pot. Early summer also works well for many species.
In autumn and winter most houseplants slow down or go dormant: repotting during this period exposes them to stress they struggle to recover from, especially if there's little light in the house and the air is dry because of the radiators.
There are two reasonable exceptions:
- If you've just bought a plant in a nursery pot that's too small, you can move it into its new container in any season, as long as the stress is minimal.
- If you notice root rot or an urgent problem, act right away regardless of the time of year: an off-season repot is better than leaving diseased roots in soggy substrate.
To avoid missing the right season, you can set a seasonal repotting reminder in Greenkeep for each plant, so you know which ones to check in early spring.
Want a care plan tailored to your plants?
Join the waitlist: species ID, diagnosis and the Gemma assistant, with the lifetime founder discount.
Which Pot to Choose for Repotting
Choosing the pot matters more than you might think. The most common mistake is grabbing a pot that's too big, convinced you're doing the plant a favour: an excess of potting mix stays wet for a long time around just a few roots and encourages rot.
The right size
Move up to the next pot size, usually 2 to 4 cm larger in diameter than the current one. For large plants you can go up a bit more, but don't overdo it.
Drainage holes
The pot must have drainage holes at the bottom. This is the most important condition: without drainage, water pools and the roots suffocate. If you like a decorative cover pot without holes, use it as an outer container and keep the plant in an inner pot with holes that you can lift out to empty the excess water.
The material
- Terracotta: porous, it lets the substrate breathe and dries out faster. Great if you tend to overwater and for plants that like dry soil.
- Plastic and glazed ceramic: they hold more moisture, handy for plants that like consistently damp soil or if you live in a very dry environment.
There's no single best material: it depends on your watering habits and the plant's needs.
The Right Potting Mix for Repotting
The substrate has to do two things at once: hold enough water and nutrients, yet drain well so it doesn't stay waterlogged. Garden soil won't do: it compacts, holds too much water and can bring in pests.
For most houseplants a good-quality all-purpose potting mix works well, lightened to improve drainage. A balanced, organic-type blend might be:
- all-purpose potting mix based on peat or, better, coco coir and compost;
- a portion of a draining material such as perlite or pumice;
- a little fine bark or coco coir to give it structure.
Some plants have specific needs:
- Succulents and cacti: a very free-draining substrate, with plenty of coarse sand or pumice.
- Epiphytic orchids: not potting mix, but specific bark, because the roots live in the air.
- Aroids like monstera, pothos and philodendron: they enjoy an airy blend with bark and perlite. You'll find dedicated tips in the guide to caring for Monstera deliciosa.
Fresh potting mix usually already contains nutrients for the first few weeks, so there's no need to feed straight after repotting. You'll go back to fertilising after about a month, once the plant has taken off again.
How to Repot Step by Step
Get everything ready in advance: a clean new pot, potting mix, a sheet or some newspaper, and water. Work calmly and with gentle hands.
- Water the day before. A slightly moist root ball slides out more easily and the roots are stressed less than with dry, rock-hard soil.
- Remove the plant. Tilt the pot and ease the plant out, holding it at the base. If it resists, run a knife around the inner rim or tap the sides of the pot. Never pull it by the leaves or the stem.
- Check the roots. Shake off some of the old potting mix. If the roots are tightly coiled in a spiral, tease them apart with your fingers or make a few small vertical cuts to encourage outward growth. Use clean scissors to trim away any soft, dark, foul-smelling roots: those are rotten.
- Prepare the pot. Place a layer of fresh potting mix at the bottom, just enough for the plant to sit at the same depth as before. A layer of crocks or gravel at the bottom is optional: with heavy potting mixes or in deep pots it can reduce how much soggy substrate sits at the bottom, while with an already free-draining mix it adds little and takes up root space. The essential thing is drainage holes.
- Position and fill. Centre the plant and add potting mix around it, pressing lightly to remove air pockets without compacting it too much. Leave a few centimetres free at the rim so you can water comfortably.
- Water thoroughly. Give water until it runs out of the drainage holes: this settles the potting mix and brings the roots into contact with the substrate. Empty any excess water from the saucer.
After repotting, keep the plant in a bright spot but out of strong direct sun for a few days, and avoid feeding right away. A little wilting in the first days is normal: log the repotting event in the Greenkeep calendar so you remember the date and keep track of how the plant responds.
What to Do (and Not Do) After Repotting
The first two or three weeks are a settling-in period. The plant is shifting energy toward its new roots and may look a little worse for wear.
What to do:
- Keep the potting mix just moist, not soaked. With more fresh substrate around the roots, the soil holds water longer, so water more carefully than usual, checking the moisture with a finger.
- Place the plant in good indirect light, away from draughts and heat sources.
- Wait about four weeks before resuming fertilising.
What to avoid:
- Don't repot and prune drastically at the same time: these are two stresses that, combined, can weaken the plant too much.
- Don't overdo the watering out of fear the plant is suffering: the most common mistake after repotting is watering too much. If soft, drooping leaves or yellow leaves appear, it's often exactly because of excess water.
If during repotting you notice lots of gnats coming out of the old potting mix, it can be a sign of an overly damp or spent substrate: the guide on gnats in the potting mix will help you deal with them. And if you've removed healthy portions of the plant, consider turning them into new plants with cuttings in water.
Let AI tell you exactly what to do
Join the waitlist: species ID, diagnosis and the Gemma assistant, with the lifetime founder discount.
Keep reading
Frequently asked questions
There's no fixed rule. On average many plants are repotted every one to two years, but it depends on how fast they grow. The best criterion isn't the calendar but the signs: roots poking out of the holes, water running straight through, stalled growth. Slow-growing plants can stay in the same pot for longer.
It's best to avoid it, because in those months most plants slow down and struggle to recover from the stress. The ideal period is late winter or early spring. The exceptions are an urgent repot for root rot or moving up from a nursery pot to a more suitable container: in those cases you can act in any season.
No, it's one of the most common mistakes. Move up to the next pot size, usually 2 to 4 cm larger in diameter. A pot that's too big holds too much water around just a few roots and encourages rot. Make sure it has drainage holes at the bottom.
It depends. It's not essential: the key things are drainage holes and a well-structured, free-draining potting mix. A coarse layer at the bottom can reduce how much soggy substrate sits at the base with heavy mixes or in deep pots, while with a good mix it adds little and takes up root space. Decide based on your situation.
It's better to wait about a month. Fresh potting mix already contains enough nutrients for the first few weeks, and freshly disturbed roots are sensitive. Resume fertilising once you see the plant has taken off again with new growth.
Sources
Related guides
 Plants & pets
Pet-Safe Houseplants for Cats and Dogs
A practical guide to choosing non-toxic houseplants if you live with a cat or a dog, with the safest species and the behaviours to keep an eye on.
Read the guide Choosing & buying
Air-Purifying Houseplants: What the Science Really Says
Which plants actually improve the air in your home and what the research really says, somewhere between the NASA myth and reality. An honest list to help you choose well.
Read the guide Diagnosing problems
Dry, Brown Leaf Tips: What They Mean
Dry, brown leaf tips often tell a story of air that's too dry, uneven watering or a build-up of salts. Here's how to read the symptom and put things right naturally.
Read the guide