
Growing Tomatoes in Pots on the Balcony
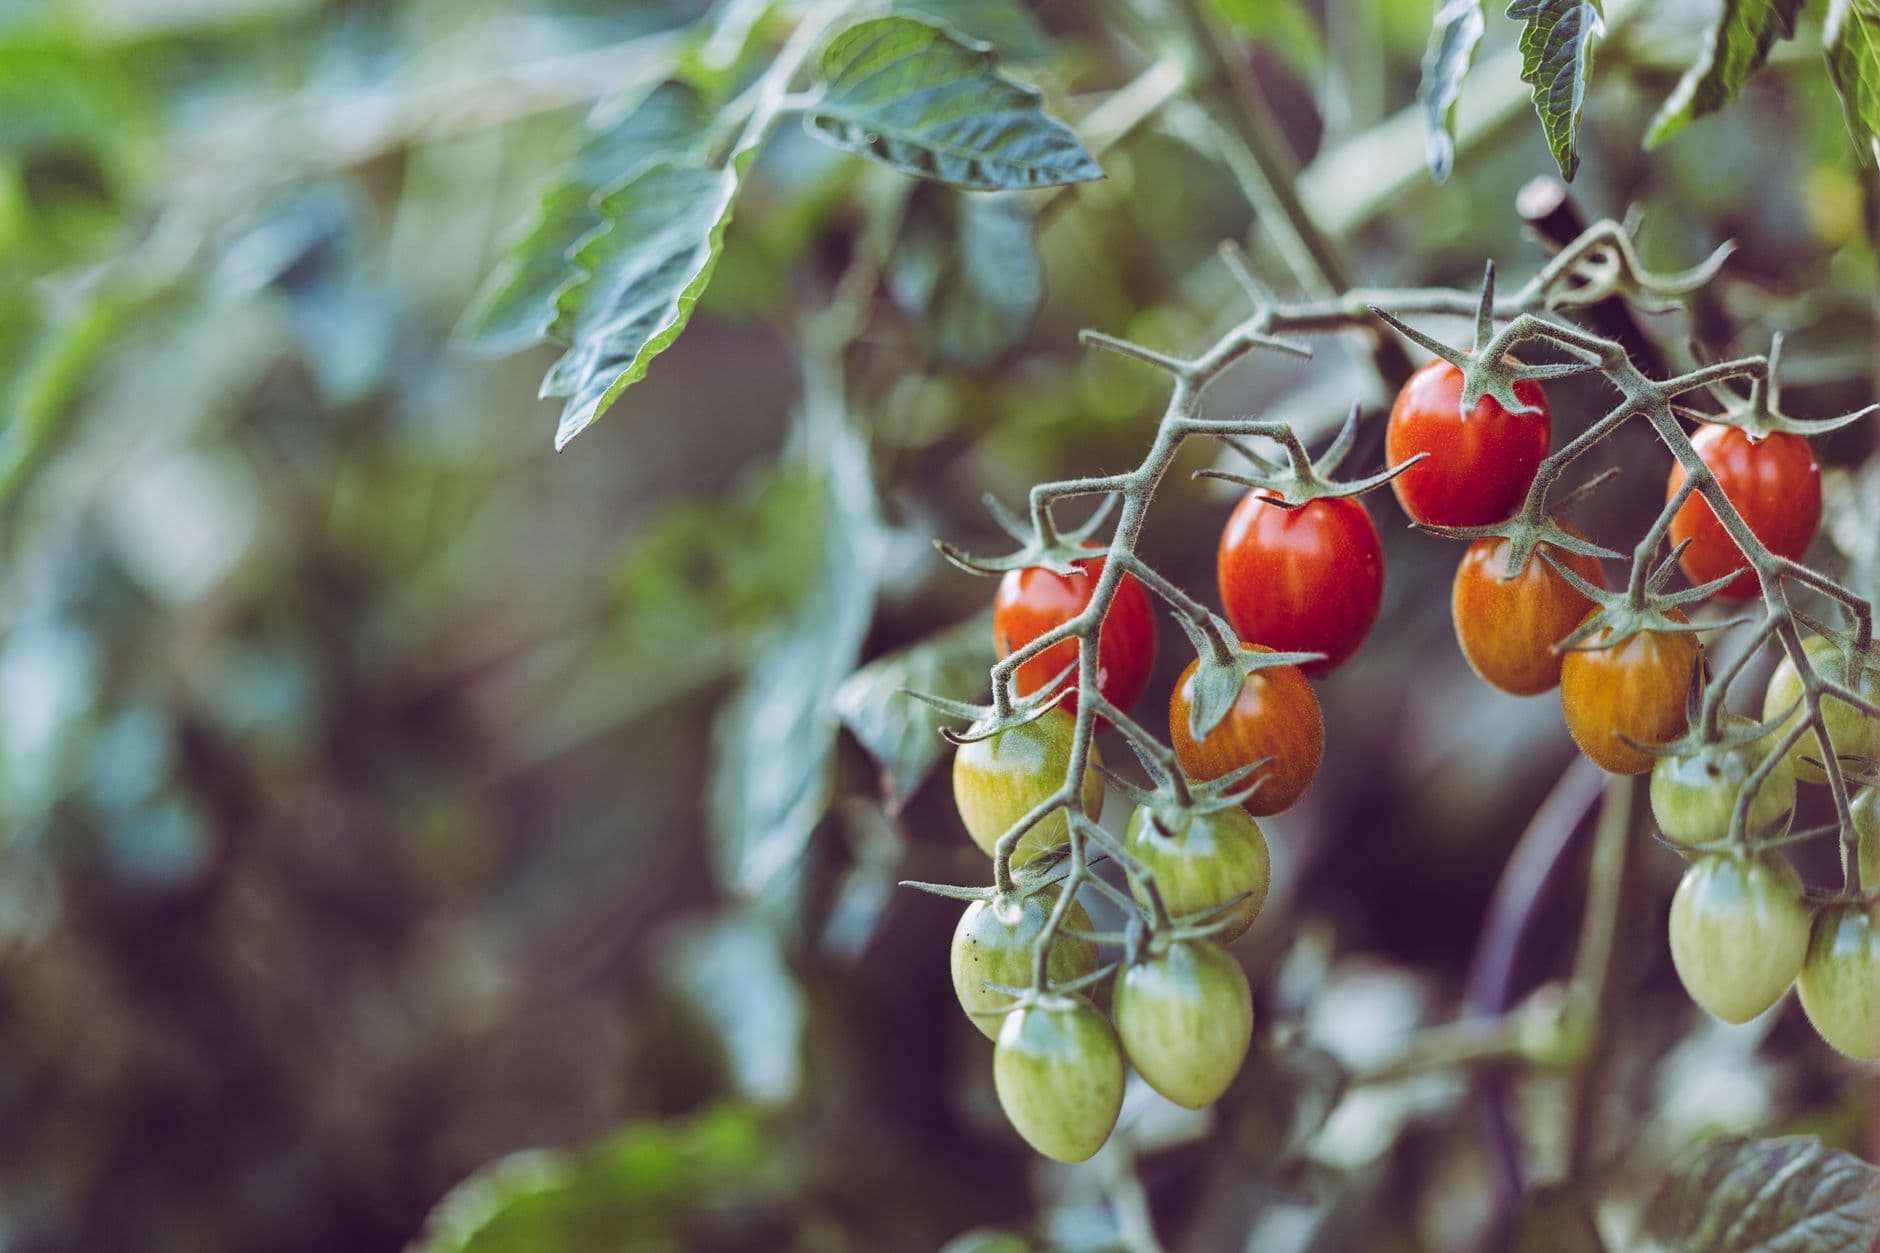
Photo by Markus Spiske
Tomatoes in pots on the balcony are hugely rewarding, but they are more demanding than they look. The quick version: you need a roomy pot (at least 25 to 40 litres per plant), at least 6-8 hours of direct sun, regular watering (often daily in summer) and a potassium-rich fertiliser from flowering onwards. The rest is a matter of consistency. In this guide you will find everything you need to grow healthy plants full of fruit, even if it is your first time.
Which pot to choose for tomatoes
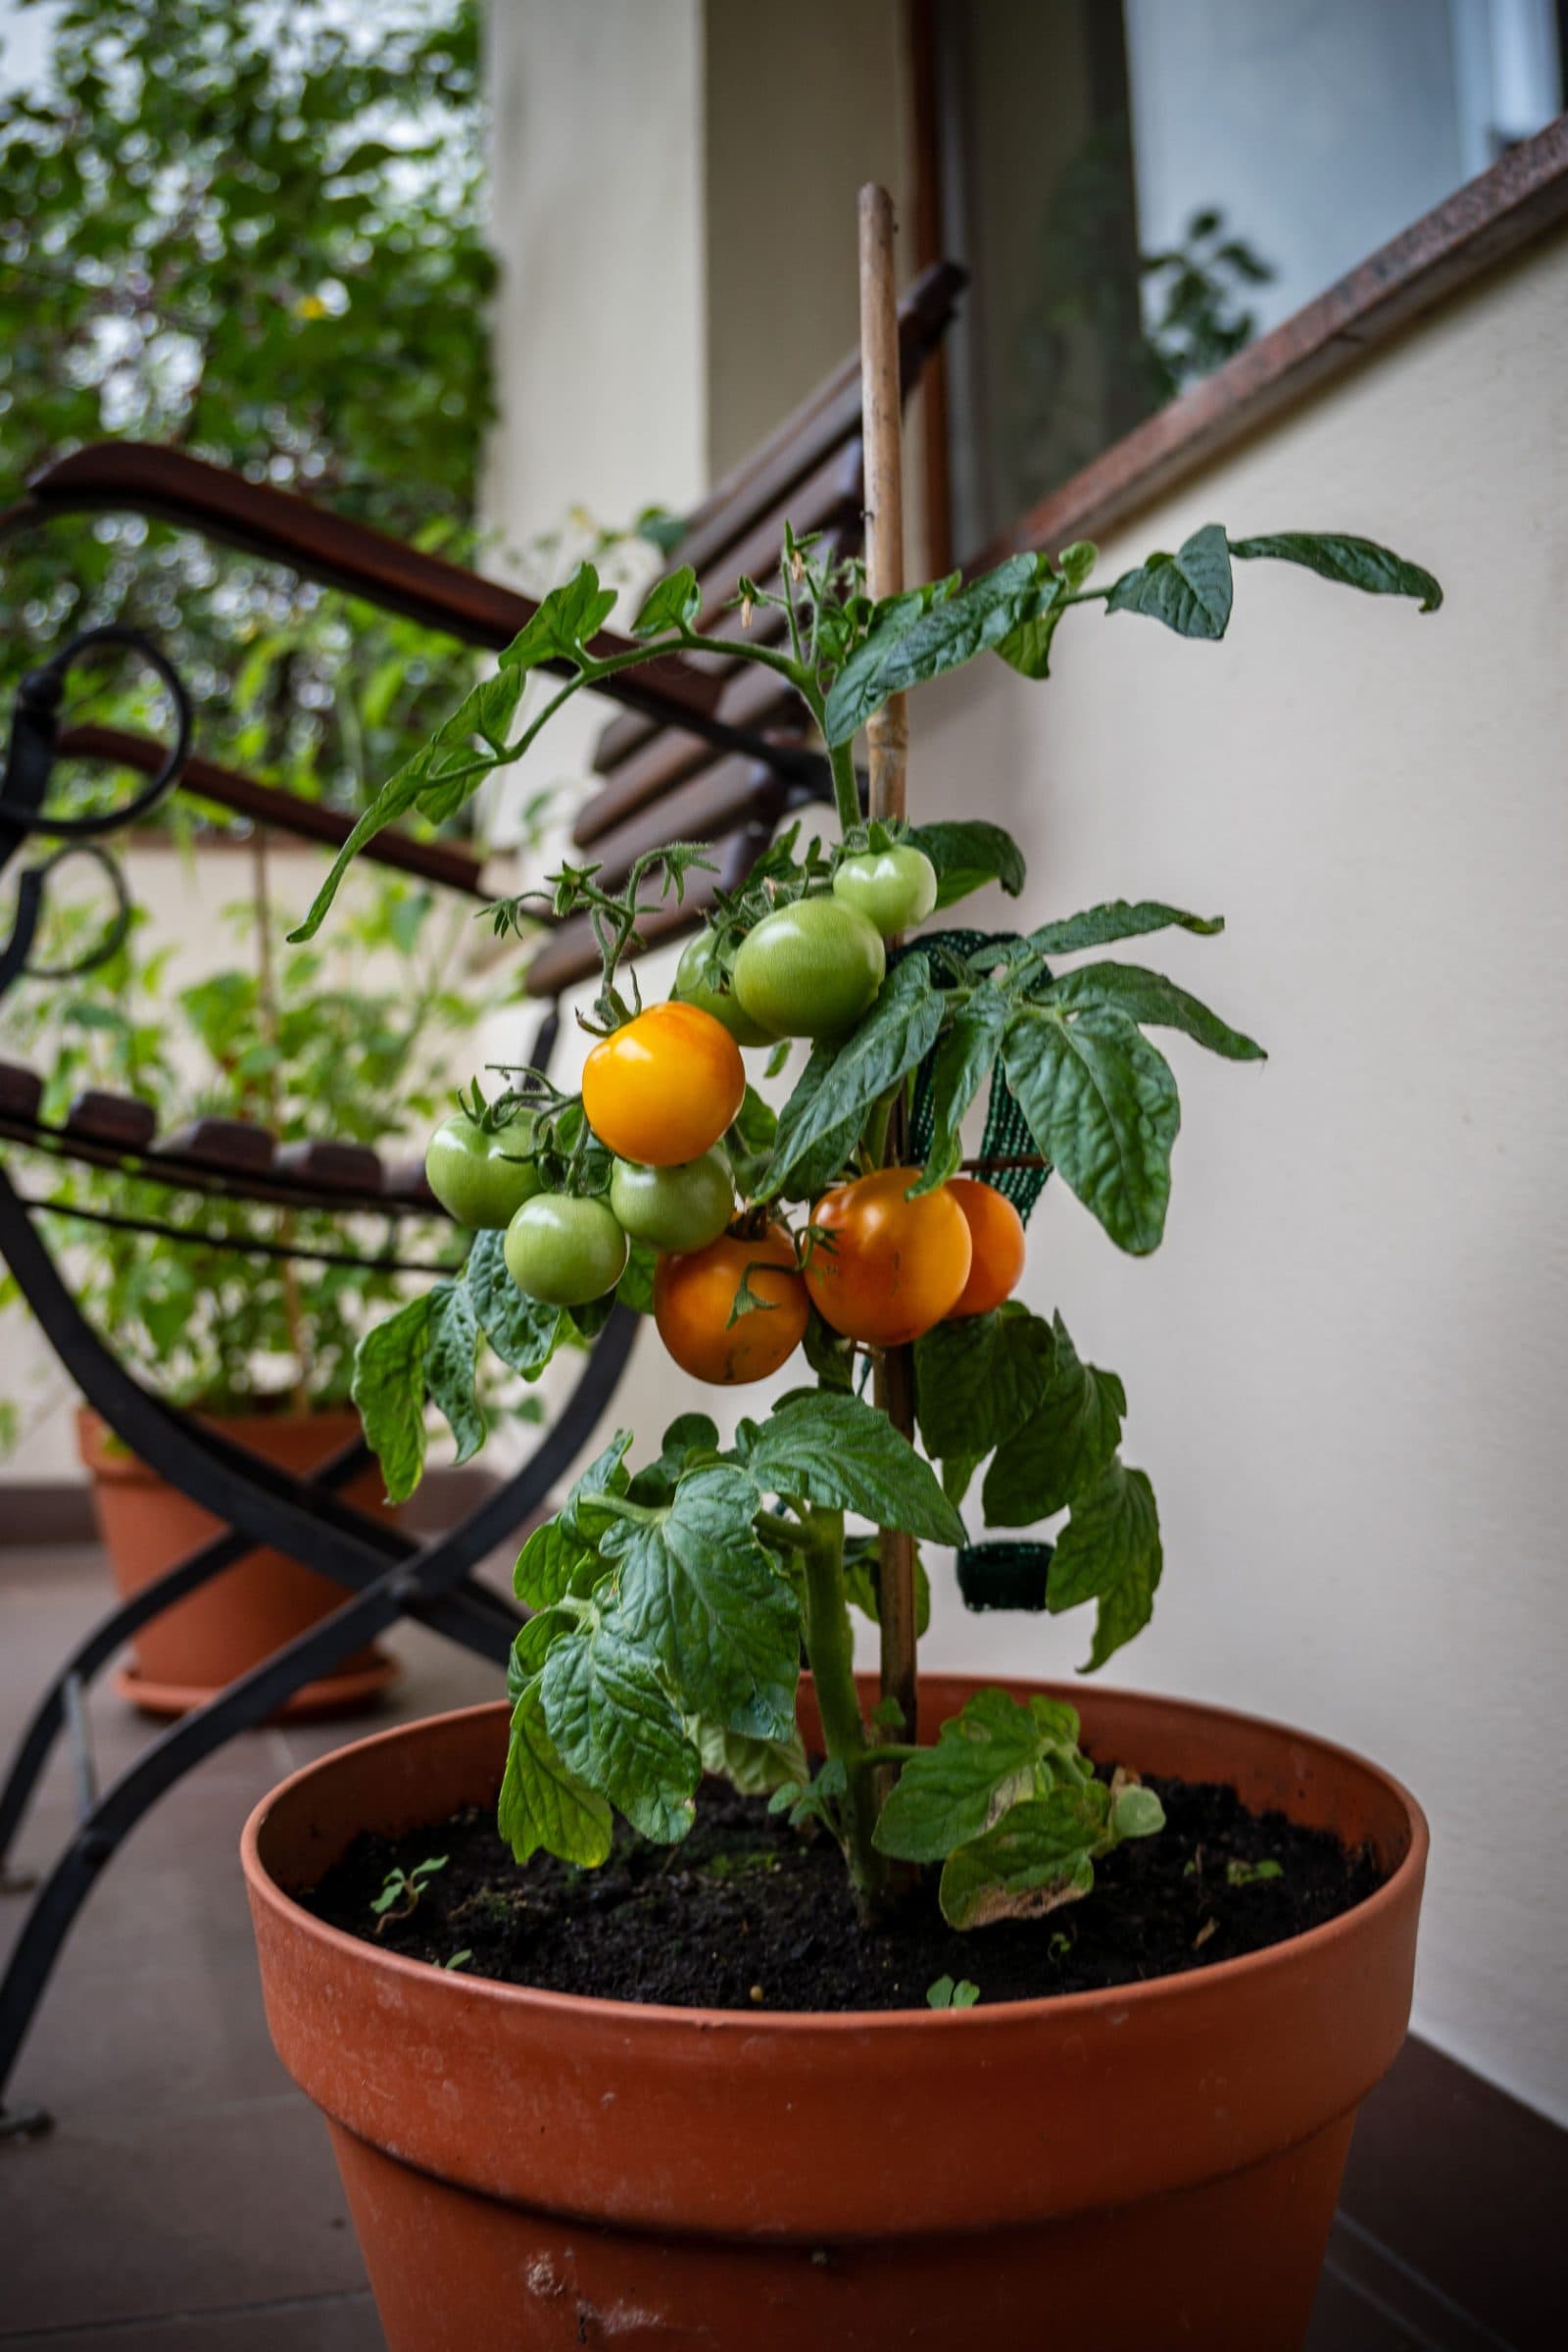
Tomatoes have deep, vigorous roots: a small pot is the number one cause of failure on the balcony. Aim for a container of at least 25 to 40 litres per single plant, with a diameter and depth of around 30-40 cm. For compact bush varieties you can go a little smaller, but not below 15-20 litres.
What really matters
- Drainage holes are essential: without a way for water to escape, the roots rot. If the pot has too few, add more.
- The material affects the watering rhythm. Terracotta breathes and dries out sooner (good for those who tend to overwater, tough in high summer); plastic and fabric pots (grow bags) retain more moisture.
- The colour: dark pots heat up a lot in direct sun and can stress the roots. If you can, choose light shades or shield the pot.
At the bottom of very large, heavy pots a layer of expanded clay or shards can help keep the potting soil from compacting, but it is not compulsory: the essentials remain the holes and a well-draining substrate. Use good vegetable potting soil, ideally enriched with mature compost, and avoid soil taken from the ground, which compacts too much in a pot.
How much sun tomatoes need
The tomato is a full-sun plant: it wants at least 6 to 8 hours of direct light a day, and more is better. With less light the plants grow leggy and weak, flower poorly and the fruit struggles to ripen.
That is why a south- or west-facing balcony is ideal. If your balcony faces east you will get the morning sun: it can work, but the harvest will be smaller and later. A north-facing spot, with no direct sun, is not suitable for tomatoes: in that case it is better to fall back on aromatic herbs or cut-and-come-again salad leaves.
A tip for very hot summers: during extreme heatwaves (over 35 degrees) fruit set, that is the formation of fruit from the flowers, can temporarily stall. It is not your fault: the plants recover on their own when temperatures drop. On those days, light shading during the most scorching afternoon hours helps limit the stress.
Want a care plan tailored to your plants?
Join the waitlist: species ID, diagnosis and the Gemma assistant, with the lifetime founder discount.
How often to water tomatoes in pots
In a pot the water evaporates quickly and the roots cannot go looking for it deep down as they would in the ground. The result is that tomatoes on the balcony need frequent, consistent watering.
The practical rule
Check the potting soil with a finger: if the top 2-3 cm are dry, it is time to water. In high summer, with pots in the sun and large plants, you may need to water every day, sometimes twice a day. In spring or on cool, cloudy days, watering every 2-3 days is enough.
Some useful tips:
- Water at the base, not on the leaves, and preferably early in the morning or in the evening. Leaves that stay wet for long encourage fungal diseases.
- Water thoroughly and deeply until water runs out of the holes, then let the surface dry before the next round.
- Consistency matters more than quantity. Swings between dry and soaked soil are the main cause of blossom end rot (the dark, leathery patch on the bottom of the fruit): it is not a pest but a problem linked to irregular calcium uptake, often caused precisely by inconsistent watering.
- A layer of mulch (straw, dry leaves, coconut fibre) on the surface of the pot reduces evaporation and stabilises the moisture.
If you are unsure between too much and too little water, the signs look alike: soft, yellowing leaves can indicate either. The decisive criterion remains touching the potting soil before deciding.
How to fertilise tomatoes on the balcony
In a pot the substrate is depleted quickly and the tomato is a "hungry" plant. Fertilising makes a huge difference to the amount of fruit.
What to use and when
- At planting you get off to a good start by mixing mature compost or worm castings into the potting soil.
- In the first weeks, when the plant develops leaves and stem, a balanced fertiliser or one richer in nitrogen works well.
- From flowering onwards change strategy: you need more potassium and phosphorus, which encourage flowers and fruit. Organic products work very well, such as comfrey tea, seaweed extract or organic fertilisers specifically for tomatoes and fruiting vegetables.
As for rhythm, you usually fertilise every one to two weeks in the peak season, following the doses on the packaging: better little and often than a lot at once. An excess of nitrogen produces lush, very green plants but with little fruit, so do not overdo the "leaf" fertilisers when the plant is already in production.
Avoid synthetic chemical fertilisers: the organic alternatives feed the plants and keep the potting soil alive, and on a balcony where you may also be growing herbs that end up in the kitchen, it is the most sensible choice.
When to plant tomatoes on the balcony
The tomato dreads the cold and above all late frosts. The golden rule is to put the seedlings outdoors only when all risk of frost has passed and night-time temperatures stay steadily above 10-12 degrees.
In practice, build your calendar around the average date of the last frost in your area:
- Sowing (if you start from seed) in a tray under cover, 6 to 8 weeks before the expected last frost, in a bright, warm spot.
- Transplanting into pots outdoors once all risk of frost has passed and nights stay mild: in temperate climates that usually means mid-spring. In mild-winter areas you can start earlier; in the mountains or wherever late frosts are common it pays to wait a couple of weeks longer.
If you buy ready-grown seedlings from a nursery, you skip the trickiest stage. Choose healthy, compact seedlings of a strong green colour, with no yellowing leaves. Before the final transplant, gradually get the plants used to outdoor conditions by leaving them out for a few hours a day for a week: this avoids the shock of the temperature and light swing.
At transplanting time, bury the seedling a little deeper than the root ball: new roots will form along the buried stem and the plant will be sturdier. If you choose "indeterminate" garden varieties, plan from the start for a stake or a cane to which you can tie the stems as they grow.
For those new to growing in containers, it can also help to read a more general guide on how to set up a balcony vegetable garden.
Daily care and the most common problems
Once they are underway, the plants ask for a little weekly attention that makes a difference to the harvest.
Removing side shoots and providing support
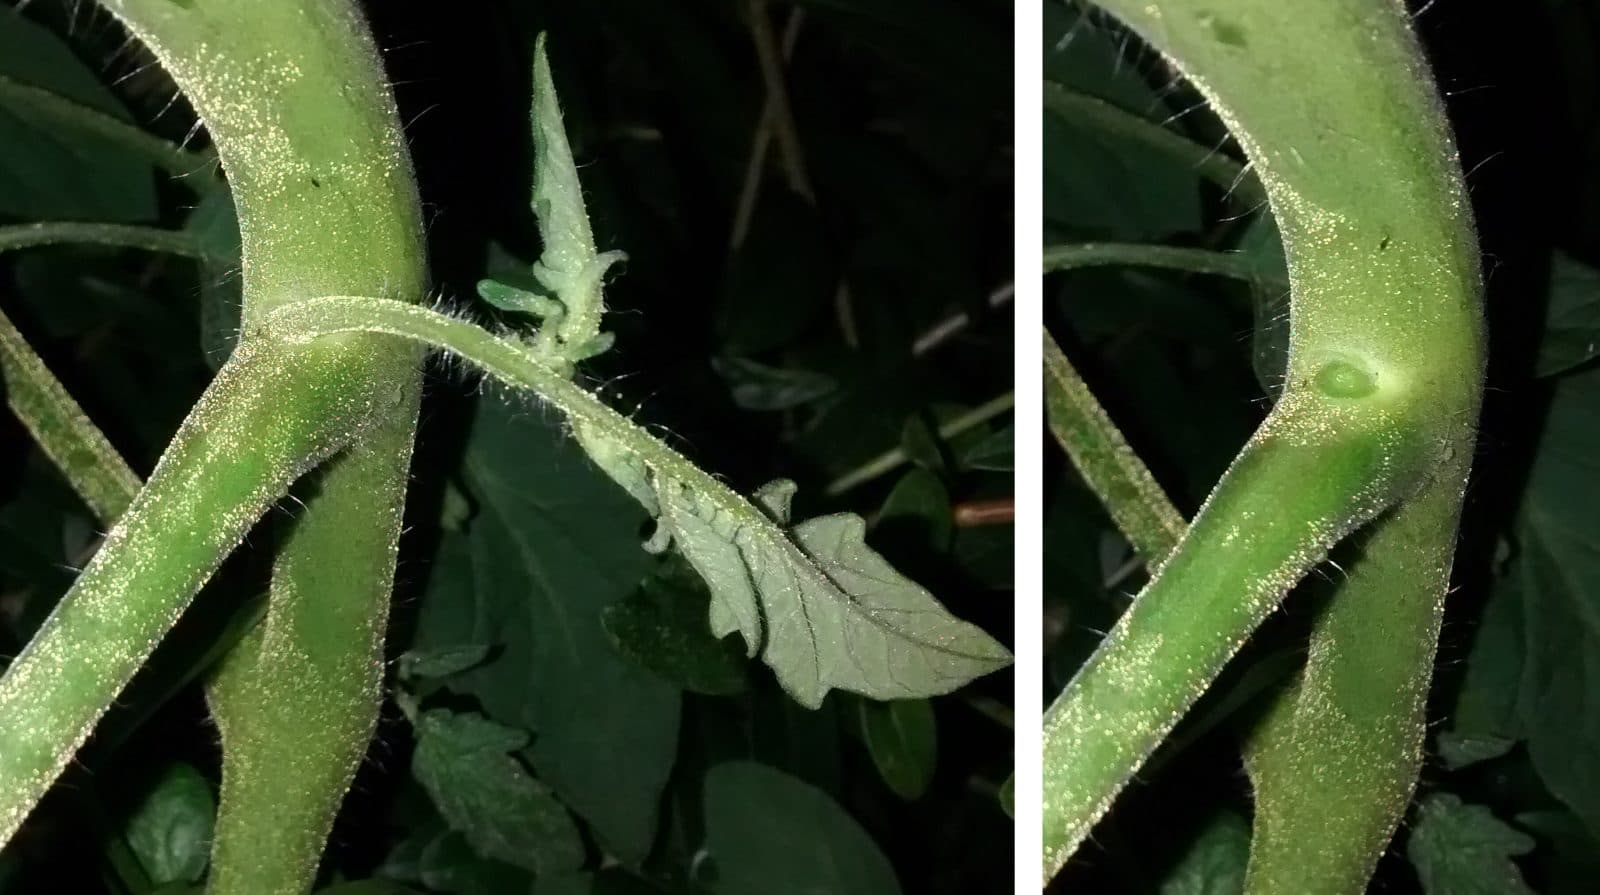
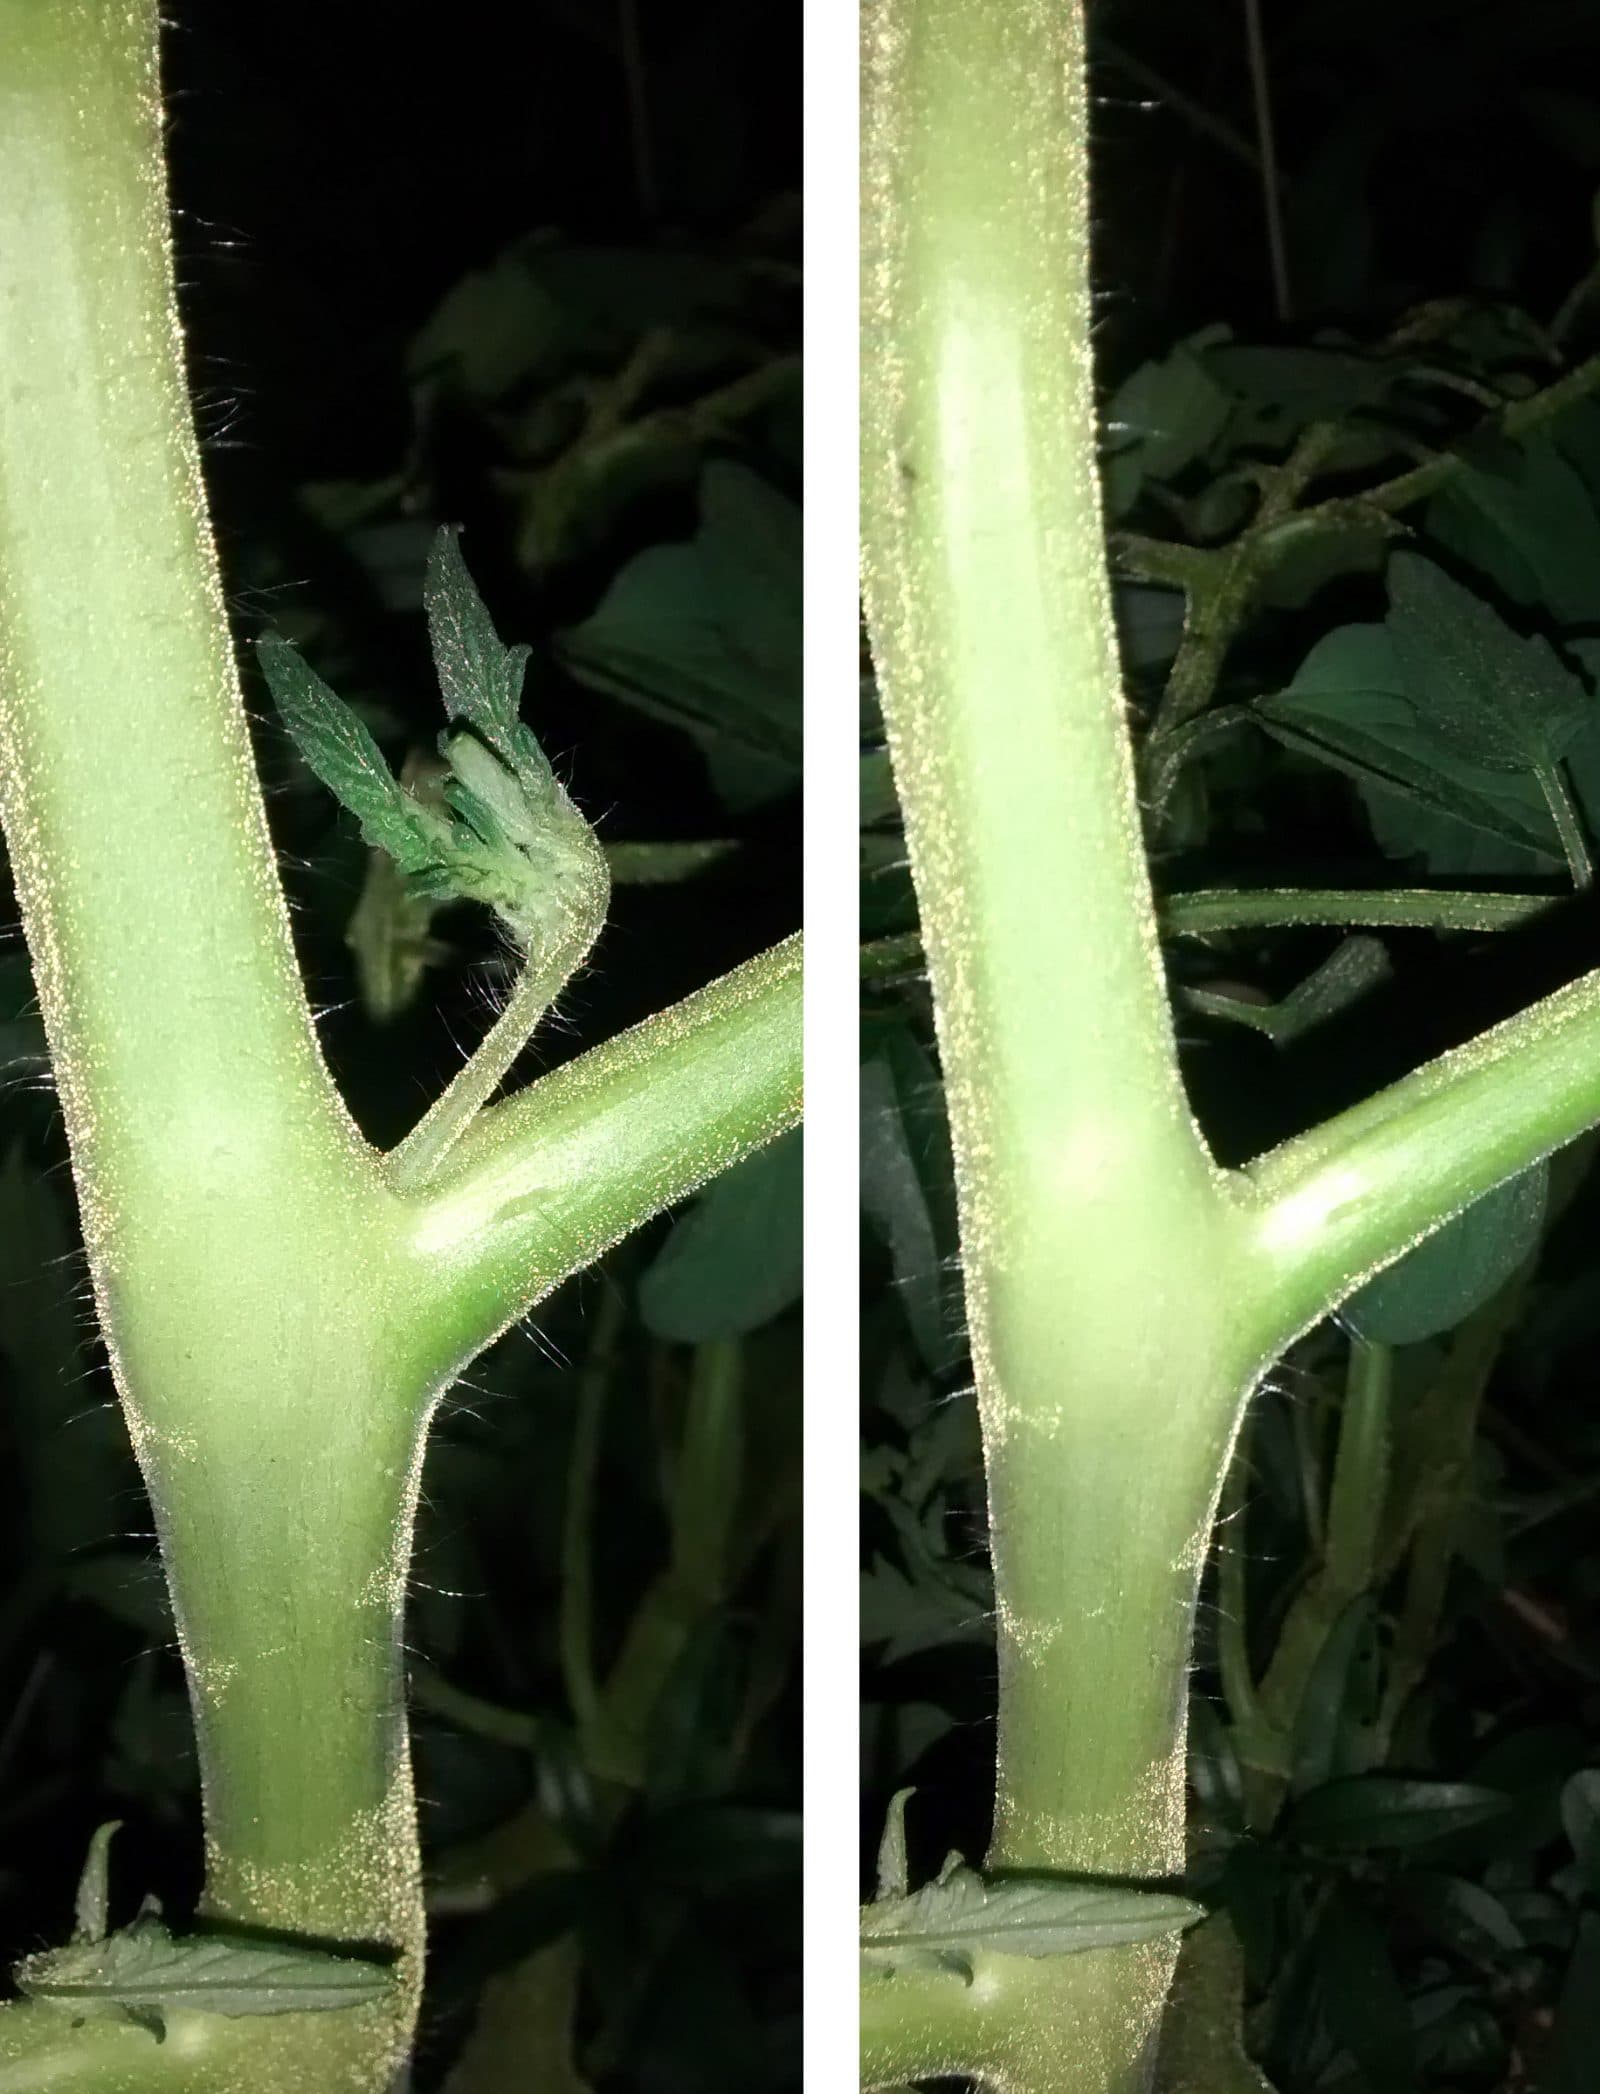
In indeterminate varieties it is worth removing the "suckers", the shoots that appear in the axil between the main stem and the branches: by eliminating them the plant concentrates its energy on the fruit and stays better ventilated. Tie the stems to the stake as they grow to prevent them from snapping under the weight of the tomatoes.
The typical problems on the balcony
- Blossom end rot: a dark patch on the bottom of the fruit, linked to irregular watering (see the section on watering).
- Aphids: small insects on shoots and under the leaves. Jets of water and manual removal are often enough; if not, potassium soft soap (insecticidal soap) and neem oil are effective natural options against soft-bodied insects.
- Fungal diseases (spots on the leaves, moulds): encouraged by wet leaves and poor ventilation. Prevent them by watering at the base, spacing out the pots and removing diseased lower leaves.
- Yellow leaves: they can indicate nutrient deficiencies, excess water or the natural ageing of the older leaves at the bottom. Assess the context before acting.
If you do decide to treat, even with a natural product, use only products authorised for edible crops and always follow the label, including the waiting period between the last treatment and harvest. Spray in the evening, when pollinators are no longer active, avoid open flowers and test on a few leaves first: soap and oil can scorch foliage in full sun. And always wash your tomatoes before they reach the table.
Keeping up the rhythm of water and fertiliser every day is not trivial, especially in high summer. In Greenkeep you can add your tomato and receive water and fertiliser reminders calibrated to the season and the size of the pot, so it is harder to skip a watering on exactly those hot days when it matters most.
Let AI tell you exactly what to do
Join the waitlist: species ID, diagnosis and the Gemma assistant, with the lifetime founder discount.
Keep reading
Frequently asked questions
Aim for at least 25 to 40 litres per plant, with a depth and diameter around 30-40 cm. Tomato roots are vigorous and a pot that is too small limits growth and forces you to water constantly. Drainage holes in the bottom are essential.
In high summer you often need to water every day, sometimes twice a day if the pots are in the sun. Always check the potting soil: when the top 2-3 cm are dry, water deeply at the base of the plant. Consistency prevents blossom end rot.
At least 6 to 8 hours of direct sun a day. A south- or west-facing balcony is ideal. With an east-facing spot the harvest will be later and smaller, while facing north with no direct sun the tomatoes will not fruit well.
At the start, compost or worm castings and a balanced fertiliser work well. From flowering, switch to an organic fertiliser richer in potassium, such as comfrey tea, seaweed extract or fertilisers specific for fruiting vegetables, every one to two weeks. Avoid excess nitrogen, which gives lots of leaves and little fruit.
Transplant the seedlings outdoors only after the last risk of frost, when nights stay steadily above 10-12 degrees: in temperate climates this usually means mid-spring. Sowing in a tray under cover starts 6 to 8 weeks before the expected last frost in your area.
Sources
- ASPCA – Toxic and Non-Toxic Plants
- Missouri Botanical Garden – Plant Finder
- NC State Extension – Plant Toolbox
- Plants of the World Online (POWO, Kew)
- Royal Horticultural Society (RHS)
- UC IPM (UC ANR)
- UF/IFAS Gardening Solutions
- University of Maryland Extension – Grow It Eat It
- University of Minnesota Extension – Yard & Garden
Related guides
 Choosing & buying
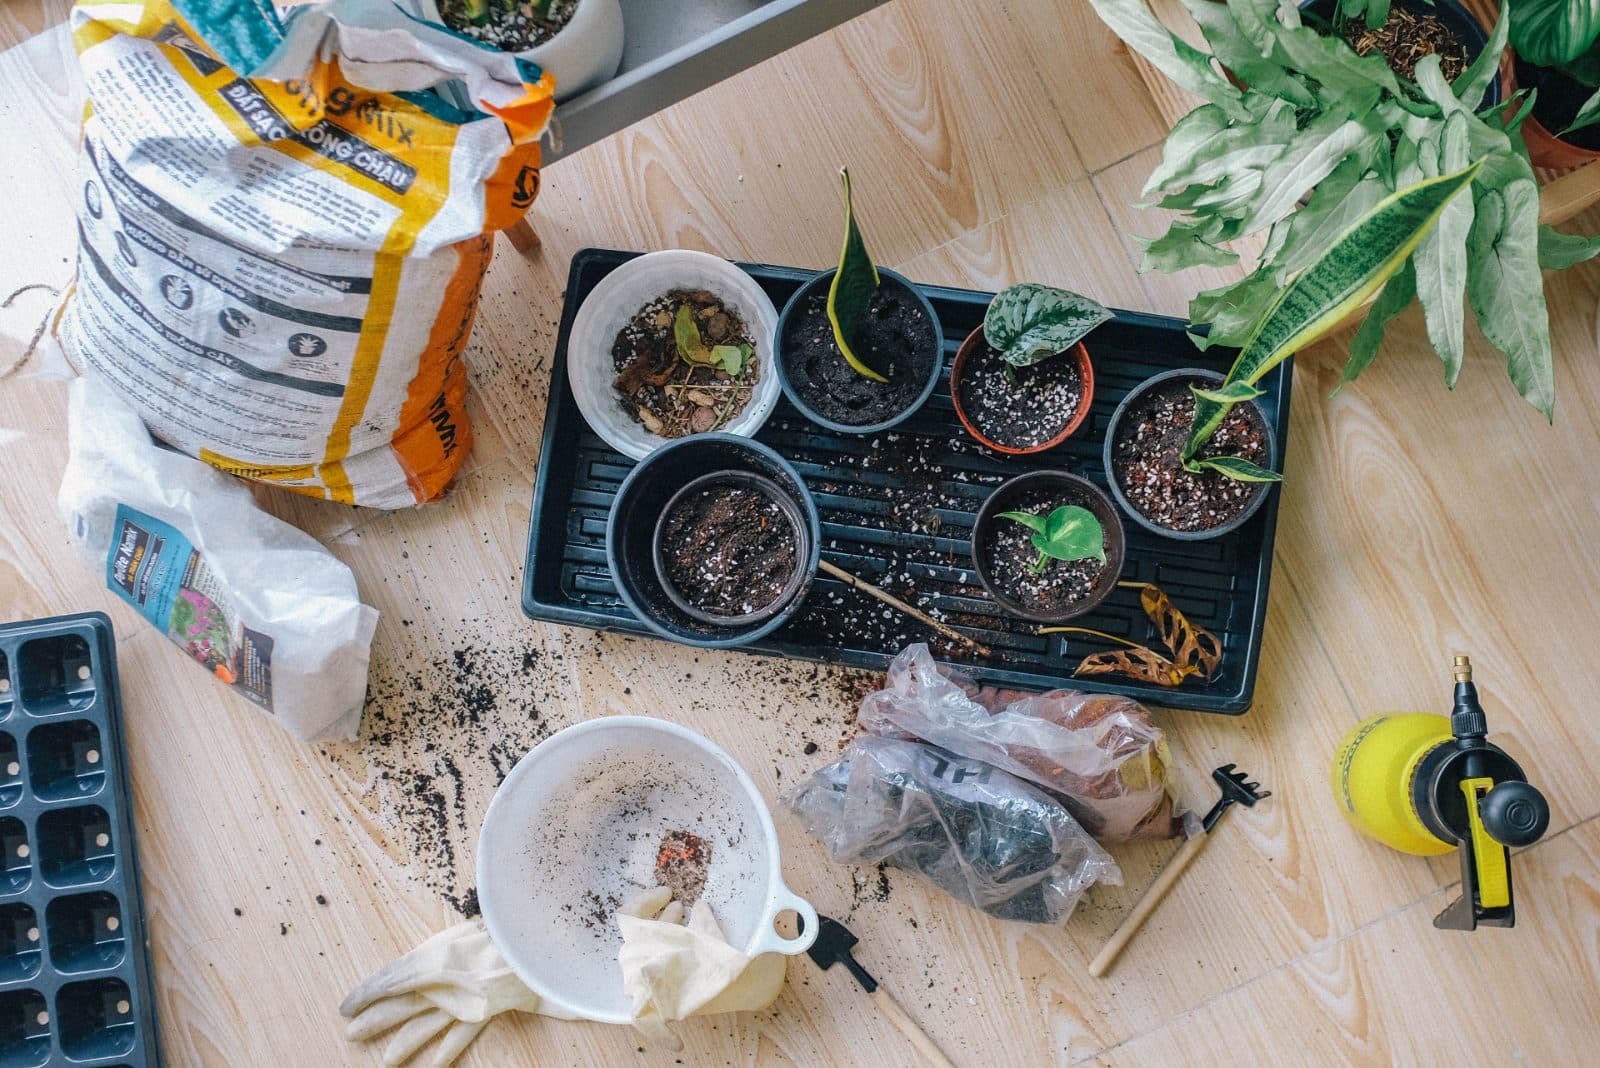
Choosing the Right Pot and Soil for a Balcony Garden
How to choose the right containers and substrate for growing vegetables and herbs in pots: size, depth, drainage, materials and potting soil.
Read the guide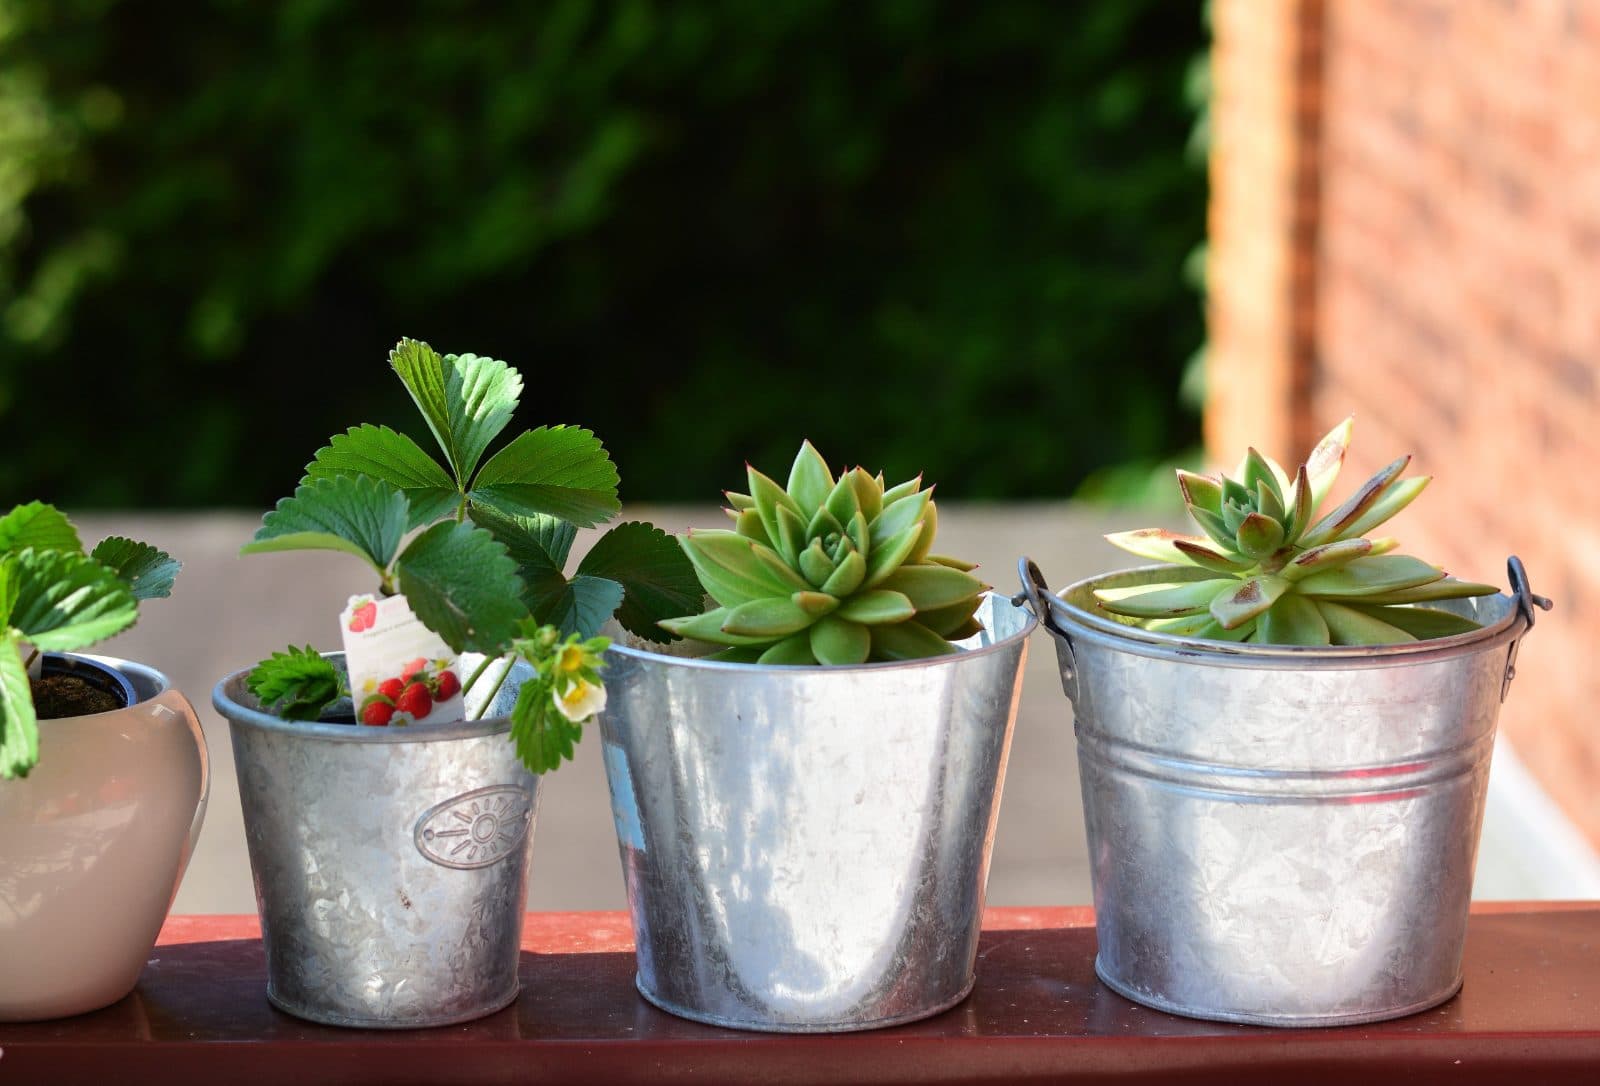 For beginners
Balcony Garden for Beginners: Where to Start
A practical guide to starting a container garden on your balcony: what to grow with no fuss, how much sun you need, and the mistakes to avoid in your first year.
Read the guide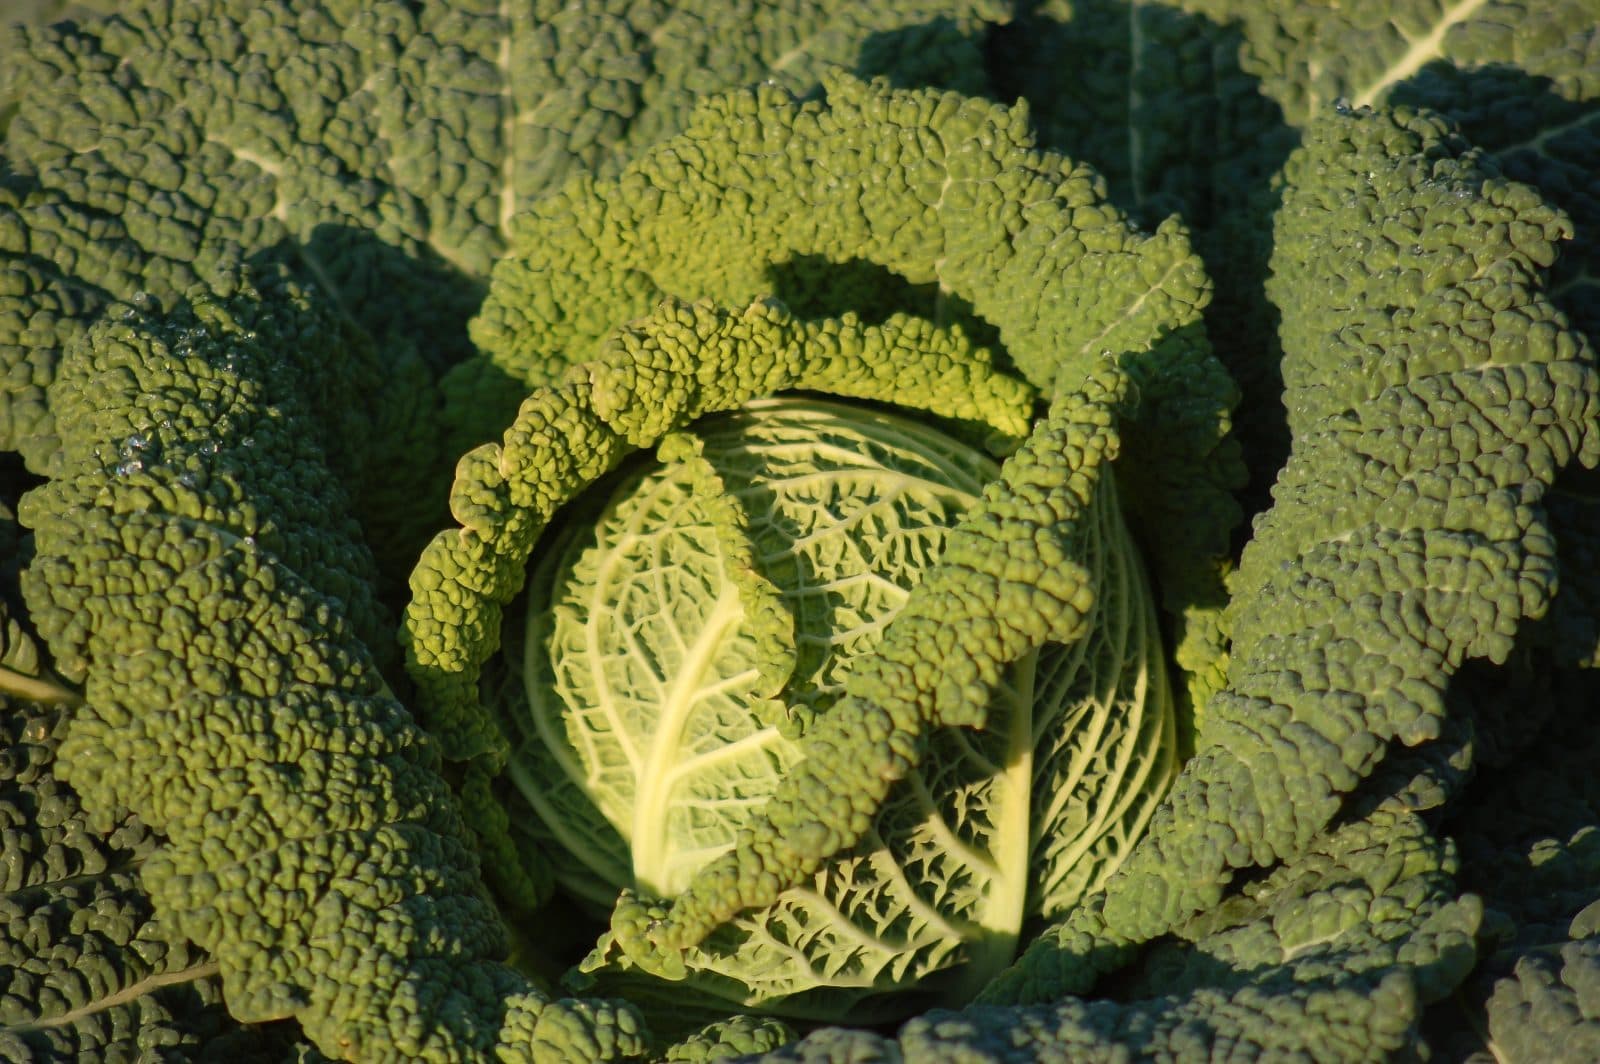 Seasonal
Winter Balcony Garden: What to Grow in the Cold
Even in winter your balcony can produce a harvest: spinach, lamb's lettuce, small cabbages and hardy herbs. Here's what to sow in pots and how to protect it from frost.
Read the guide